
Fortunately, there are plenty of natural and safe ways to deep clean grout without resorting to harmful substances. In this guide, we’ll show you how to restore your grout’s original shine with simple ingredients you probably already have at home.
Why Avoid Harsh Chemicals for Grout Cleaning?
Many conventional grout cleaners contain chemicals like chlorine bleach, ammonia, and phosphates. These chemicals can irritate the skin, eyes, and lungs, and they can also damage your grout or tiles over time. Harsh cleaners may also release fumes that contribute to poor indoor air quality, posing health risks, especially for those with respiratory issues.
By choosing natural cleaning alternatives, you’re not only protecting your home’s surfaces but also creating a healthier environment for your family. Eco-friendly cleaning methods are often just as effective—if not more so—than commercial products.
What You’ll Need for Chemical-Free Grout Cleaning
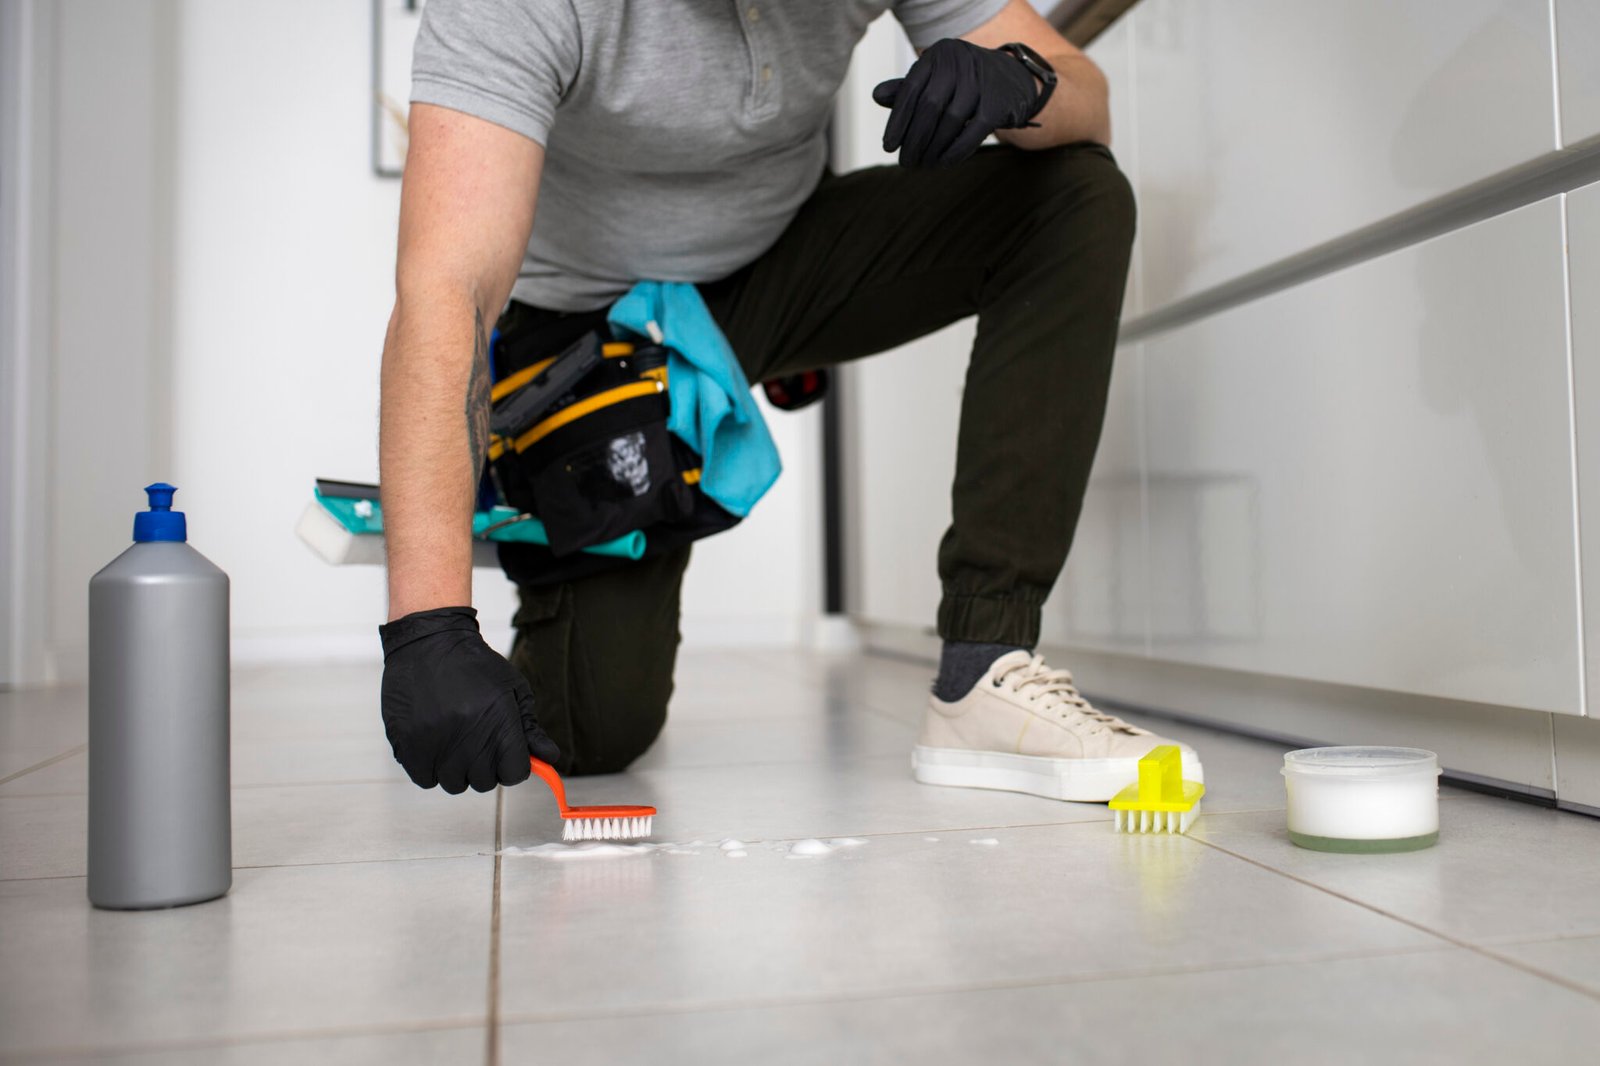
To get started, you don’t need much. Here’s what you’ll need to deep clean grout naturally:
- Baking soda: A powerful yet gentle abrasive that helps lift stains and dirt.
- White vinegar: An effective natural disinfectant and degreaser.
- Warm water: Helps to dissolve grime and loosen dirt.
- A small brush: An old toothbrush works great for scrubbing grout lines.
- Essential oils (optional): For a fresh scent, you can add a few drops of your favorite essential oils, such as lavender or tea tree oil.
Many homeowners swear by simple solutions that come straight from the pantry—like these grout-cleaning techniques using baking soda and vinegar.
Step-by-Step Guide to Deep Clean Grout Without Harsh Chemicals
1. Create a Baking Soda Paste
Start by mixing baking soda with water to create a thick paste. The consistency should be similar to toothpaste—firm enough to stay in place without dripping. This paste will act as a gentle scrubber for your grout lines.
For more inspiration, check out these DIY grout cleaner recipes that use everyday items from your kitchen.
- Tip: For added cleaning power, you can also mix the baking soda with a small amount of white vinegar. The fizzing reaction helps lift dirt and grime.
2. Apply the Paste to the Grout Lines
Using your fingers or a small spatula, apply the baking soda paste directly onto the grout lines. Be generous with the paste, ensuring that every grout line is covered. You may notice that the paste starts to bubble slightly—this is a good sign! It means that the mixture is working to break down the dirt and stains.
3. Let the Paste Sit
Allow the paste to sit on the grout for about 10 to 15 minutes. During this time, the baking soda will lift stains, and the vinegar (if added) will break down any mold or mildew.
- Tip: For tougher stains, let the paste sit for a little longer. However, avoid letting it dry out completely on the grout, as this can make it harder to scrub off.
4. Scrub the Grout with a Brush
Now it’s time to scrub. Use an old toothbrush or a small brush to gently scrub the grout. Focus on one small section at a time, using circular motions. The baking soda paste should loosen up dirt and stains as you scrub.
- Tip: For heavily stained grout, apply extra paste directly onto the dirty areas and scrub more vigorously. You may need to repeat this step for particularly stubborn stains.
5. Rinse with Warm Water
Once you’ve scrubbed the grout thoroughly, rinse the area with warm water to remove the baking soda paste. You can use a sponge or microfiber cloth to wipe away the residue. Make sure to rinse well, as leftover paste can leave a white residue on your tiles.
6. Use Vinegar for Extra Shine
For an added shine, you can follow up with a vinegar solution. Mix equal parts of white vinegar and water in a spray bottle, then spray the solution onto the grout lines. Allow it to sit for a few minutes before wiping it away with a clean cloth.
You can explore more homemade cleaner recipes that are safe and effective for tile and grout maintenance.
- Tip: Vinegar helps restore the grout’s natural shine and acts as a mild disinfectant, removing bacteria and odors from the grout.
Additional Tips for Grout Maintenance
- Seal the Grout: After deep cleaning, consider sealing your grout to prevent future stains and dirt buildup. A grout sealer will help protect it from moisture and keep it looking fresh for longer.
- If your grout is already damaged or cracked, consider these grout repair tips before deep cleaning.
- Regular Cleaning: To maintain clean grout, mop your floors regularly and wipe down tiles to prevent dirt from accumulating in grout lines.
- Avoid Harsh Scrubbers: While grout needs scrubbing, avoid using harsh brushes or steel wool, as these can damage the grout or tiles.
Final Thoughts
Deep cleaning grout doesn’t have to involve toxic chemicals. By using natural ingredients like baking soda and vinegar, you can remove grime, mold, and stains without compromising the health of your family or the environment. With a little time and effort, you can restore your grout to its original beauty and ensure that it stays looking fresh for years to come. So, gather your supplies and give your grout the deep clean it deserves!


No Comments