
The good news? You don’t always need to call a plumber. With the right tools and a little know-how, you can fix a leaky faucet yourself in under an hour.
This step-by-step guide walks you through identifying the issue, gathering materials, and performing basic faucet repair for both kitchen and bathroom models.
Common Causes of a Leaky Faucet
Before you start tearing apart your sink, it helps to understand what might be causing the leak. Here are the most common culprits:
- Worn-out washers
- Damaged O-rings
- Loose or corroded valve seats
- Worn cartridges (for cartridge-style faucets)
- Improper installation or age-related wear
Identifying the type of faucet you have (compression, cartridge, ball-type, or ceramic disc) will help you troubleshoot better.
Step 1: Shut Off the Water Supply
Start by turning off the water valves under the sink. These are usually located at the back of the cabinet. Turn them clockwise to shut off both hot and cold water.
Pro Tip: Open the faucet to let any residual water drain and to relieve pressure in the lines.
Step 2: Plug the Drain
Use a sink stopper or a rag to block the drain. Small parts like screws or washers can easily fall down the drain and be lost forever.
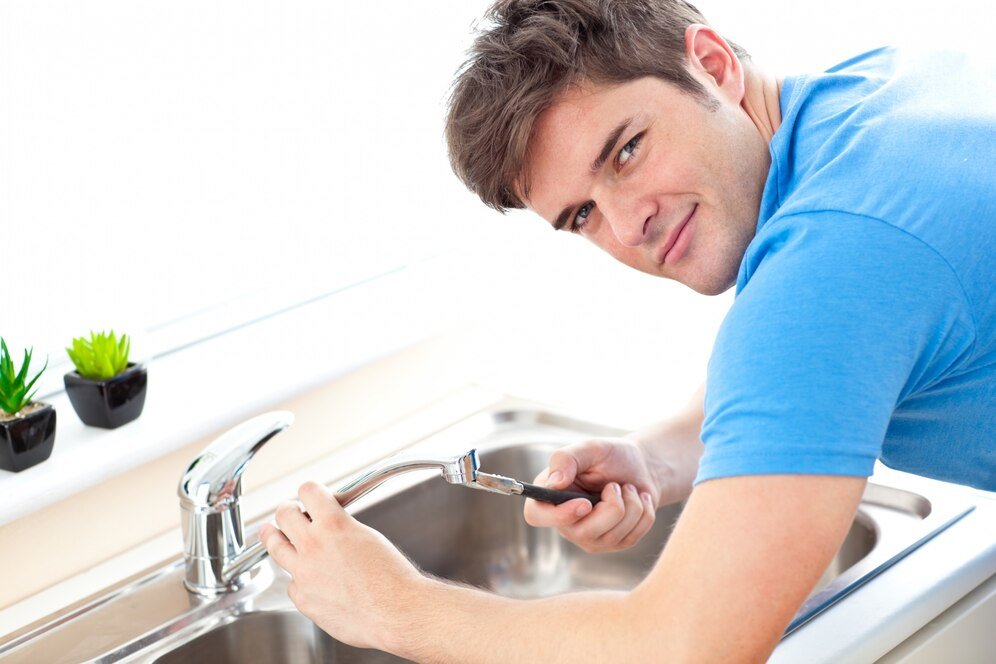
Step 3: Disassemble the Faucet
The disassembly process varies slightly depending on your faucet type, but most require you to:
- Remove the decorative cap on the handle.
- Unscrew the handle using a screwdriver or Allen wrench.
- Loosen the packing nut with a wrench.
- Take out the stem or cartridge.
Make sure to note how each piece fits together or take pictures for reference.
Step 4: Inspect and Replace Worn Parts
Now that you’ve exposed the inner workings, inspect the washers, O-rings, and cartridge for any signs of wear, cracking, or corrosion. Bring the damaged parts to your local hardware store to find exact replacements or buy a faucet repair kit that includes standard parts.
Tip: If you’re unsure of the model, many home improvement stores can help identify it based on the part.
Step 5: Reassemble the Faucet
Reassemble the faucet by reversing the disassembly steps:
- Insert the new cartridge or stem.
- Tighten the packing nut.
- Replace the handle and decorative cap.
Avoid overtightening, as this can cause damage and lead to leaks again.
Step 6: Turn the Water Back On
Turn the water valves back on slowly while watching the faucet. Test the hot and cold sides, and ensure there are no drips when the faucet is off.
Troubleshooting Tips
Still have a drip after reassembly? Try these tips:
- Make sure the replacement parts match exactly with the originals.
- Double-check O-ring placement.
- Tighten connections securely, but don’t overtighten.
- Check water pressure—high pressure can cause seals to fail.
When to Call a Professional
While DIY fixes work in most situations, you may need a plumber if:
- The faucet continues to leak after replacing parts.
- The leak is coming from the base or under the sink.
- You’re dealing with corroded pipes or shutoff valves.
- You simply don’t have the time or tools to finish the job safely.
Final Thoughts
Learning how to fix a leaky faucet without calling a plumber is a skill every homeowner should master. It saves money, conserves water, and gives you confidence to tackle more DIY plumbing projects. With a few tools and replacement parts, most minor leaks can be resolved in under an hour.
By catching faucet leaks early, you’ll avoid bigger plumbing headaches later, and you might just enjoy the peaceful silence that comes from a drip-free sink.


[…] leaky faucet is more than just an annoying drip—it can waste gallons of water, increase your utility bills, […]